
We just replaced a Velux solar roller shutter, grabbed the remote control, pressed the button, and nothing happened. The shutter remains stuck in the open position. The usual reflex, checking the batteries, does not solve anything. The problem lies upstream: the remote control and the shutter do not recognize each other yet. It’s the pairing, this radio synchronization between two devices, that is missing.
Resetting the Velux roller shutter before pairing
Most guides start directly at the synchronization step. In practice, it is observed that without prior reset, pairing fails one time out of two. The shutter retains the memory of the old remote control or a stray signal and refuses the new coupling.
See also : How to Effectively Terminate Your Electricity Contract with ilek: Steps and Tips
For an SSL (solar) roller shutter, the reset involves a complete power cut. You need to unplug the motor connector located under the cover of the box, wait about twenty seconds, and then reconnect. The shutter then performs a small back-and-forth movement that confirms its radio memory has been cleared.
On a wired electric model (SML), you cut the circuit breaker dedicated to the circuit. The principle remains the same: cut, wait, restore. If the shutter does not move at all after reconnection, the motor or solar cell presents a distinct problem that is no longer related to pairing. A detailed guide on pairing the Velux remote control on Côté Déco provides this sequence with photos of the connector.
Further reading : How to Easily Retrieve Your Report Cards Online: Practical Guide and Tips
Pairing Velux remote control according to the control model
All Velux remote controls use the io-homecontrol protocol, but the registration procedure varies depending on the unit. Confusing the models is like looking for a button that does not exist.
KLI 310 single-product remote control
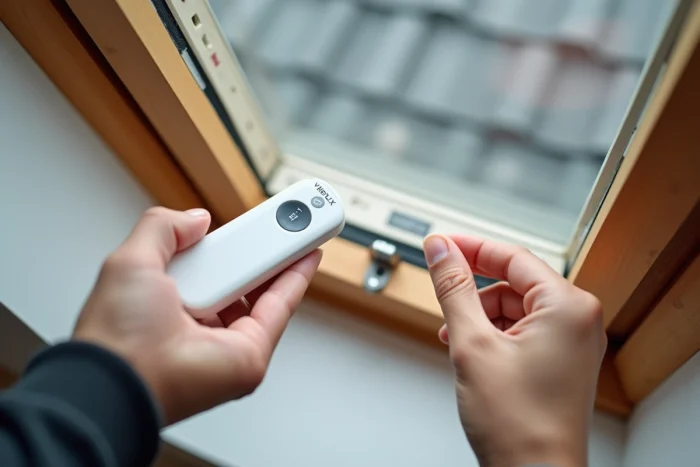
The KLI 310 is the most common control for operating a single device (roller shutter, awning, or motorized window). You hold the button located at the back of the unit for a few seconds until the light flashes. Within the next minute, you briefly press the programming button on the shutter (or window motor). A brief movement of the shutter confirms that the coupling is active.
KLI 110 wall remote control
The KLI 110 is mounted on the wall and operates on the same principle. The difference lies in the location of the programming button, often hidden under a small cover at the bottom of the unit. A paperclip is enough to reach it. The rest of the sequence is identical: long press on the remote control button, then a brief press on the shutter side.
KLR 100 screen remote control
The KLR 100 manages multiple Velux products from a single screen. Pairing is done through the touch screen menu: navigate through the settings, select “Add a product,” and the remote control starts a radio search. The KLR 100 detects all io-homecontrol devices within range, including interior blinds and motorized windows. You then select the one you want to control.
Feedback varies on this point: some users report that the KLR 100 does not detect a solar shutter without prior reset, while others succeed on the first try. The difference seems related to the age of the shutter and the number of devices already registered.
Troubleshooting when Velux pairing does not work
You followed the procedure, the shutter did not move, and the remote control does not pick up anything. Before concluding a hardware failure, a few checks eliminate the most common causes.
- Batteries and power: weak batteries in the remote control transmit a signal that is too short for the shutter to register. You should always replace the batteries before pairing, even if the remote seems to work for other commands.
- Distance and obstacles: the io-homecontrol radio range decreases through thick walls, metal structures, or attics insulated with aluminum vapor barriers. Stand less than two meters from the shutter during the registration phase.
- Frequency conflict: another io-homecontrol device in simultaneous programming mode interferes with the search. Turn off or temporarily disconnect other Velux remote controls in the room.
- Forgotten KUX 100 module: some manual dome windows require a KUX 100 relay box to communicate with the remote control. Without this intermediate module, no pairing will succeed.
Pairing multiple Velux accessories on a single remote control
Pairing is not only about the roller shutter. Velux documentation specifies that the KLI 310 is compatible with motorized roof windows, window motors, exterior sunshade awnings, interior blinds, and roller shutters. Therefore, you can register multiple devices on the same remote, provided you follow a specific order.
You always start with the motorized window (if it exists), then the roller shutter, and then the interior blind. Each addition follows the same sequence: resetting the device, putting the remote control in programming mode, confirming with movement. Adding accessories out of order can cause registration conflicts where the remote loses control of the first device while trying to register the second.
For installations with more than three or four products, the KLR 100 with its screen remains the most reliable choice: it displays each device separately and allows you to rename, delete, or reorganize the list without starting over.
Ultimately, pairing a Velux remote control comes down to two things: a clean reset before any attempt and the right button on the correct remote model. When the first synchronization fails, the reflex to try again without re-resetting the shutter leads to a loop. Cut the power, wait, reconnect, and then only restart the procedure: this return to zero unlocks most situations.